Tuesday, 13 November 2012

Modeling a Jacaranda tree in HO scale

Hi all,

I have completed a project modeling a Jacaranda tree that ended up turning into a diorama!

I noted the trees around the Northern Rivers NSW and Ipswich QLD, so I thoiught I would give modeling one a go by painting white sand, a few shades of pink and purple. I used water based hobby paint and airbrushed a small amount of sand in a ice cream bucket.Yes, it blows everywhere. But if you keep the airbrush well away from the sand it can be done! Shake the sand around as you paint.

I will be bringing the diorama along with me to the New England convention so I hope to see you there. The model was weathered using Dr Ben's weathering pigments on just about everything - cars, buildings, people and animals.The red Australian dirt was also pigment and looks very realistic however the photos made it much more reddish than it is.

New England Convention

I have been asked in a number of emails, and in person at the Ipswich exhibition, why I will not be demonstrating weathering techniques at this years New England Convention. The reason is that  I was not asked/invited. I thought the idea of a convention is to bring something new or different to entusiasts. If it was the same thing, done by the same people each year, wouldn't it just get boring? Anyway, if you have any questions just let me know, I'll be  more than happy to help.


Cheers Deano                                       
    

Friday, 9 November 2012

Weathering rusty iron roofs - A how-to guide

Hi all,

Another update and some weathering tips. My PC is still under repair. Most of the problems are sorted, but it's now getting some updated parts, extra USB ports and a new case...so I'm posting this from my way too small keyboard on an older-than-I-am, very slow, laptop. With a battery that lasts five seconds!

I joined facebook a few weeks back and I was asked how I weather iron roofs on my sheep wagons. So I will do my best to show you all how I did it, and I've included pictures. You can find this Facebook page at:

The first thing is to prime the roof with white primer. I use Turpentine based primer, not automotive thinner based primer, as the turps based takes longer to dry allowing the primer to stick to the surface. "Turps" primer is found in most paint shops, hardware stores and "discount stores".  If you not sure ask, and if they don't know, you are better of  shopping where they know the product. 

Turps primers white and gray - I often used gray first, then a light cover with the white
In this case I only used the white as it covers well over plastic..


The next pic shows the white primed roof with some brushed silver in random spots.  


Now coat the roof with Dullcoat as this will allow the Dr Bens weathering pigments to stick

http://www.ebay.com.au/itm/WEATHERING-PIGMENTS-that-work-DARK-DAMP-RUST-Rails-In-Scale-ebay-store-/140881189765?pt=AU_Toys_Hobbies_Model_Railways&hash=item20cd2c5b85.

Next you can add some Dark Damp rust pigments around but not over the silver. It will cover well over the white primer.


Now add fresh dry rust making sure you keep some of the dark rust showing and give the whole roof a light dusting with the dry rust. Now I cover with a light coating of dullcoat and reapply pigments, that is if some of the weathering has been toned down too much by the dullcoat.


And there you have it. A weathered rusty iron roof!

Later Deano


Saturday, 20 October 2012

Damage control..What a month

Hi all,

Well it's about time I posted an update, things have been flat out and it's not getting any better at least, for the short term. I will start with the bad news. When I returned from the Liverpool Exhibition, I went to boot up my PC.....and nothing! To cut a long story short the hard-drive was dead. I had backed up most of my data however, I will have to redo most of my HO scale sign range (see Ebay link). I will also have to re-do the Coil-wagon instructions, and with regret, this will be another setback on an already slow delivery. I have prints of everything so it won't be a big project, but one that will be painstaking to rectify.. I can't just  make photocopies, as the images in the instructions will not be clear enough.

I have about half a dozen instruction sets printed, so that will keep me going for a wile. However, I may be too busy to redo some of the signs. So, once all stock is sold on E-bay, I will stop listing therm, until I find time to play with the artwork. On the positivre side I have been forced to learn how to use my I-phone and set the internet up on my laptop!! I am slowly overcoming my technophobia.

Now to the good stuff.

Thanks to everyone who stopped by the Rails In Scale stand at Liverpool. I hope you all enjoyed the weekend as much as I did. I did a bit of weathering over the weekend showing the use of the Doctor Ben's weathering pigments, and I was suprised and grateful how quickly I sold out of stock. I am very pleased that so many people bought the powders to have a go themselves! I've opened a Facebook page so please follow it, as I will be posting some tips and tricks to weathering soon. As soon as more pigments arrive, I will list them on the RIS E-Bay store.


Rails In Scale will be attending the Ipswich model train show at the Ipswich rail museum on the 27-28 October 2012.

I will be demonstrating the weathering techniques I use to weather all my models. I will also bring along the remainder of my HO scale signage and detail items, that is until I've sorted out my PC. Don't forget, Dr Ben's awesome weathering powders will also be available.

Hope to see ya there,
Deano

.


Sunday, 19 August 2012

Eureka models NSWGR sheep wagon

Hi all,

It's been another busy weekend. I have completed the Rails In Scale coil wagon instructions although I still need to re-draw one image. But apart from that, they are ready to print. I hope to start sending kits out next week and I will start with all paid orders. If you have ordered and not yet paid, I will contact you when your kits are ready for post.

After my late night completing the instructions, I decided to have a weathering fix. My Eureka models bogie sheep wagons arrived last week and as soon as I took them from the box, I could see this was a first class model and was begging for some weathering. About the only thing I could have a winge about was that the wheels are shiner than Her Majesty's best silverware. Apart from that, it's a great model.

Eureka had the foresite to design the wagon so you can take it apart. You add sheep by simply removing the buffers and floor, and then unclipping the roof. After you add the woolies, you just clip the roof back on, and insert the floor, replace the buffers (or pins on NSSF) and your set to go.

Cheers Dean,


Thursday, 16 August 2012

Murwillumbah Model Railway & Hobby Exhibition 2012

Hi All,

The Murwillumbah exhibition went ahead last weekend and as stated in my previous post, I was there to promote weathering to any that would listen. Thankfully, visitors were keen to learn and better still, try it out for themselves! The layouts were of a high quality, and plenty of other models were on display. Everything from cars and planes to ships and boats. Also on display were woodworking crafts and  retail model suppliers.

Over the weekend I worked on a few models demonstrating what can be done with Dr Ben's weathering pigments. Some people said I made it look easy, but the truth is Dr Ben's product makes it easy! The stuff just works! I will do my best to get down to the Sydney exhibition and if I do make it, stop by and take a look for yourself.


Thursday, 19 July 2012

Updates and info

Hi All,

I thought it's about time I gave you all an update on the coil wagon - they are almost ready for release. I'm waiting on a order from KD for the couplers. It has been almost two weeks since my last contact with them, so I emailed them again yesterday and have almost got everything sorted. I just sent my payment info so I hope to see something in the post this week.

The other set back has been the writing of the instructions. After a rather poor first effort in black and white, I decided to redo them in colour, with photos and 3D CAD drawings. This will make life a lot easier in assembling the kit.

The progress on the BBP box plough has been slow, with the coil wagon being my first priority. However, I have made the roof master but that's as far as I have gone.

I do have two surprise kits on the way - one is a bridge, and the other is a shipping container. If I get enough of these kits done, I will have samples to show at the Murwillumbah exhibition on August 11th-12th  next month.

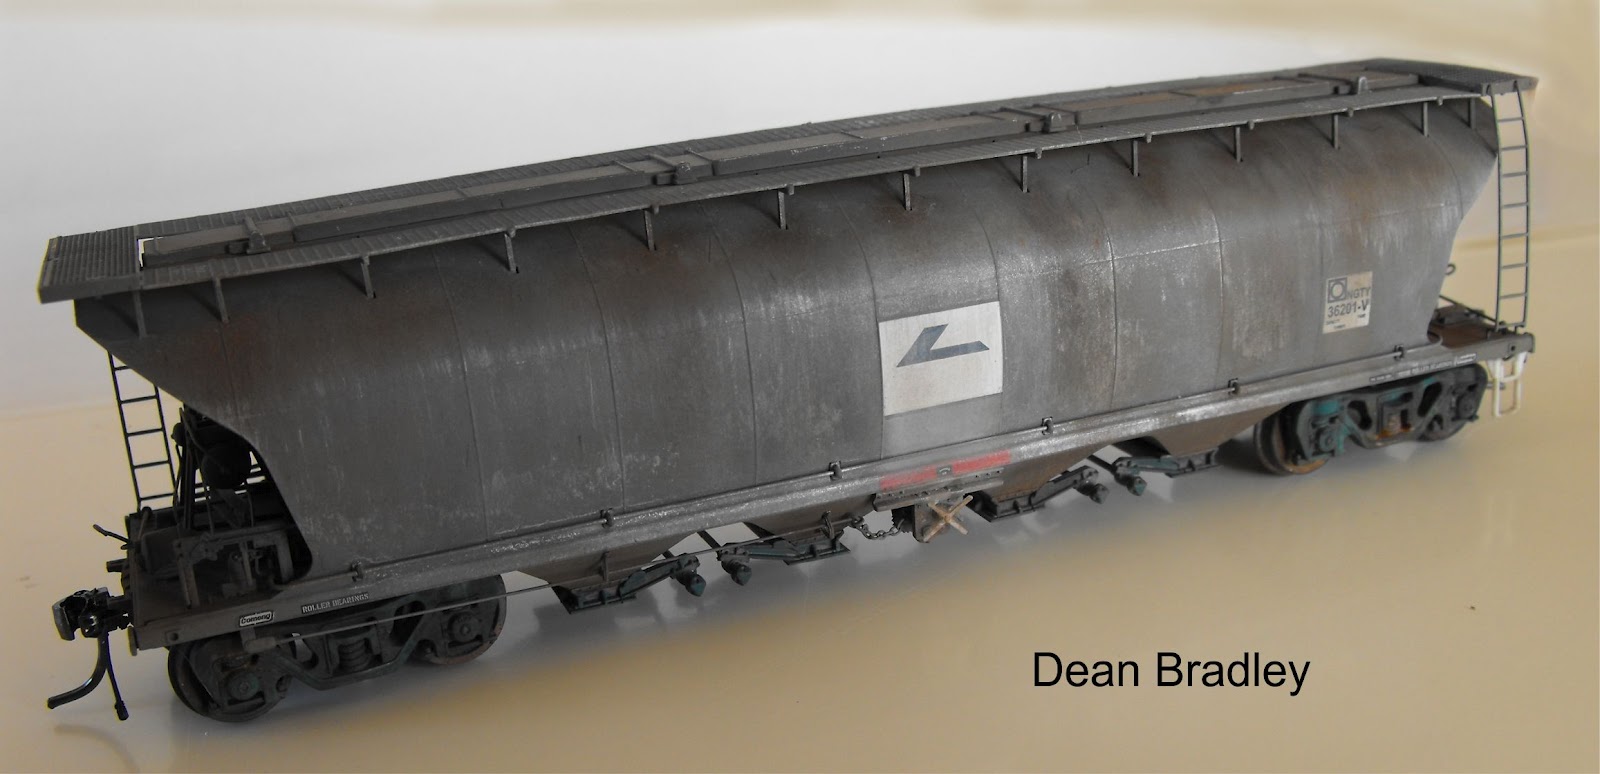
Whilst there, I will also be doing a weathering demonstration on the use of Doctor Ben's weathering powders. This is the very same product used to weather the model below, as well as all the my other models on this blog. This is the best weathering product I have used! It bonds to the model well, and is so simple to apply with a soft but stiff brush ( I usually shorten the bristles). It's not ground chalk but an industrial pigment and it works!

At the exhibition, I will demonstrate how to weather bogies in just a few minutes and the result
will blow you away! I will also demonstrate Loco and rolling stock weathering, using the both wet and Dry pigments. I hope to see you there, and I will be glade to answer any questions you may have

Later,
Deano


Tuesday, 3 July 2012

Steam era models - X class and NSWGR 45 class locos

G'day all,

I have some new pictures to share. I have had a few camera problems and with some help from a mate we got it all sorted.

I finished the 45 a few months ago, but I just could not get a clear picture of the weathering job! The X Class is a project for a client, and both locos are fitted with DCC chips! The X class has extra pick-ups in the tender and an LED front light.

I will demonstrate weathering techniques at the Murwillumbah model railway and hobby exhibition on the 11th and 12th of August 2012. I do  hope to see you there!

Later,
Dean